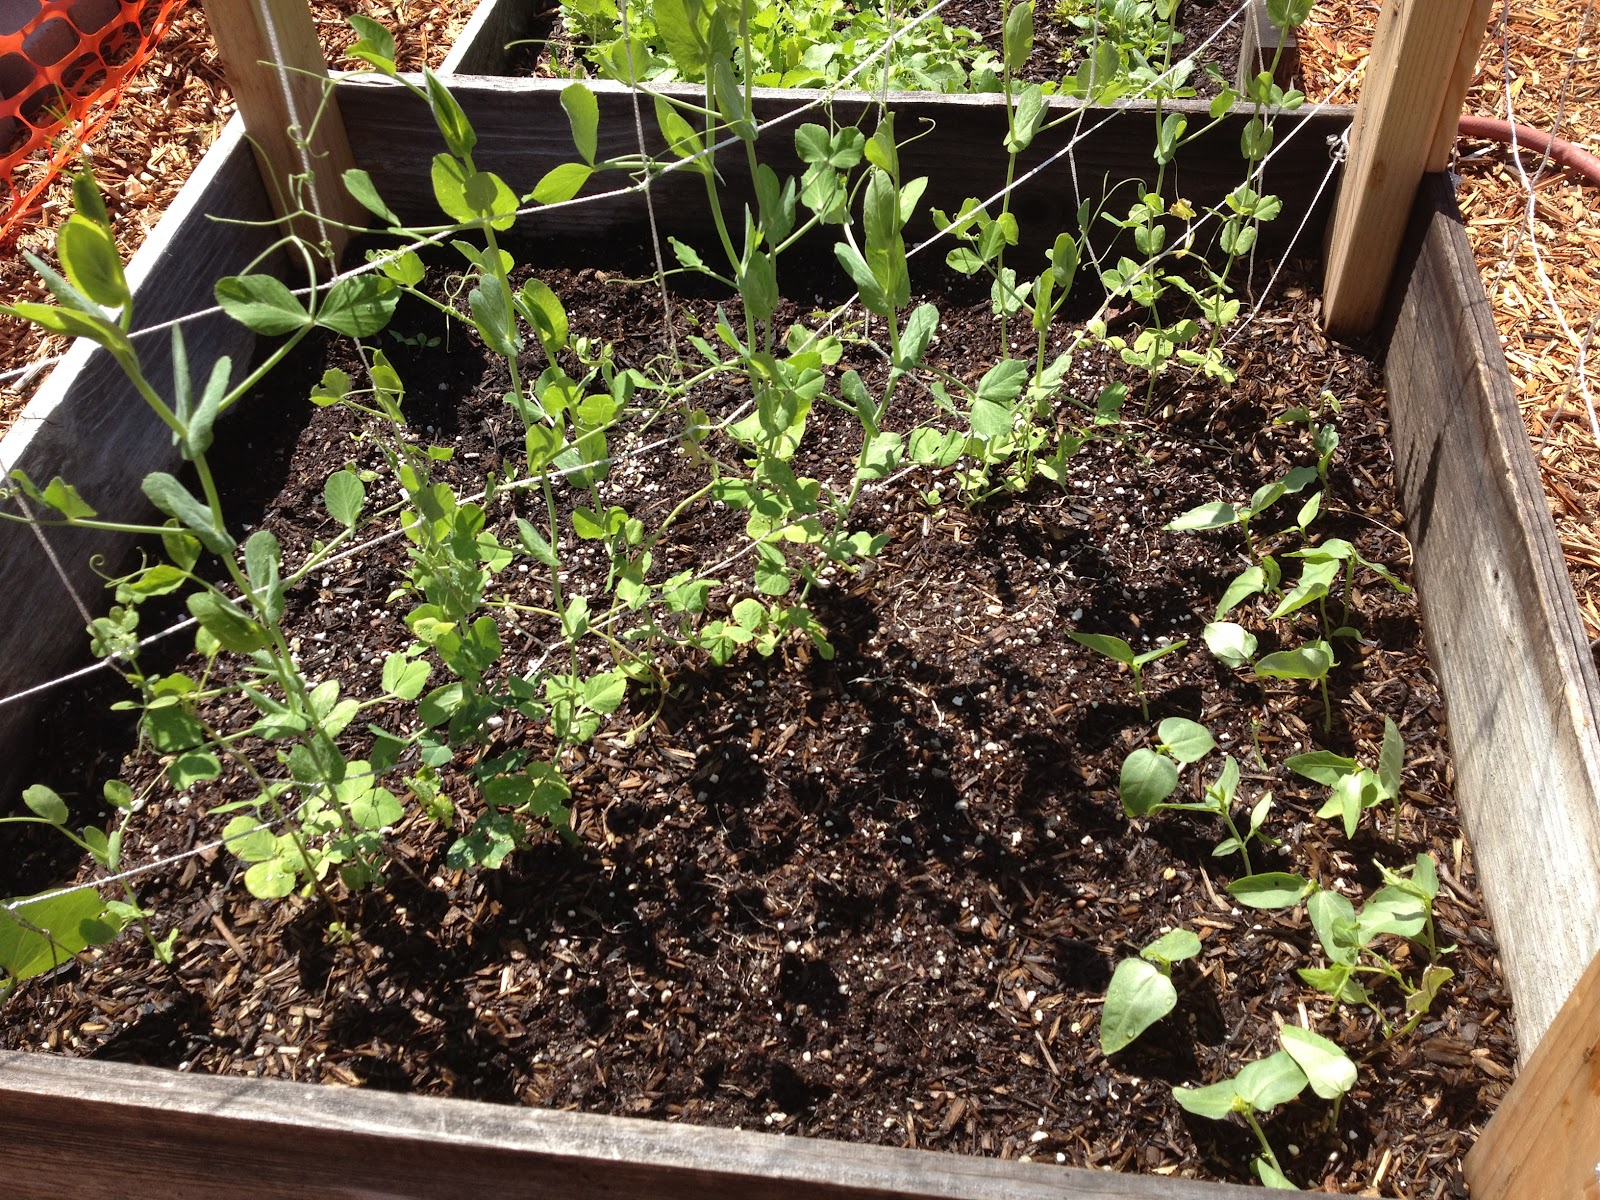
Wednesday, July 18, 2012

Typical July Harvest

The victory garden is in full swing.  We have daily harvests of zucchini, yellow squash, beans, peppers, a variety of herbs, and cucumbers.  As expected, the harvests are increasing in size.  Today's harvest  (pictured below) produced a sink full of vegetables, strainer full of beans, and one lonely pepper.


I have some good news from the eggplant patch.  We officially have a SECOND GENERATION EGGPLANT growing in the garden! Woo hoo!  Remember my post, Transplanting and Mulch, about the eggplant that survived winter?  That eggplant has grown exponentially and is now giving birth to three eggplants.  There are over ten flowers on the plant and I hope to see everyone turn into a delicious eggplant by the end of the summer.

Second generation eggplant
All of the eggplants grown, from seed this season, have begun to push out flowers or fruit.  I envision lots of BBQ eggplants and eggplant lasagnas filling my table and tummy later this season. YUM!

eggplants are growing bigger each day
The strawberry pot is doing very well.  Each day I pick two to four large strawberries, rinse and freeze them.  So far I have 1 1/2 quarts of frozen MVG strawberries.  These frozen berries taste great in homemade slushy drinks or strawberry jam. I hope to have the second quart bag filled by the end of July.

daily harvest of strawberries

Friday, July 13, 2012

Plum Harvest 2012


Our harvest of plums is not a direct result of my gardening skills. My family harvest the plums out of necessity.  In order to keep our back and front yard free from bomb dropping purple spatters of juice, fruit and seed, we pick and maintain the limbs of the tree that reach over into our yard. The size of the harvest varies depending on the winter rains and maintenance of the tree limbs.

MVG 2012 Plum Harvest
This year's harvest has brought forth a basket full of sweet and tart fruit.  In previous years, my family has made plum jam and pies. This year, the harvest will be canned or frozen.  My family plans to use the frozen plums to make pies and cobblers. There is nothing better than a warm slice of plum pie or cobbler on a cold winter's night.


There are two types of plum trees reaching over into our yard. The trees have been around for some time. We and the neighbors do not know what type of plums are being produced by the trees. So far the type of plum is a mystery but we definitely know they taste great!


To freeze the plums, peel off the skin, take out the seed and sliced up the plums in any way you like.  My mom likes the wedge shape.  It does take time to prepare the plums for freezing but the results are fantastic! We currently have 12 cups in 3 quart Ziploc bags.  Each bag contains 4 cups of plums or 2 pints.  We also peeled, seeded, and sliced over 30 plums to fill a gallon bag Ziploc bag.  I will be using this gallon bag of plums to make a plum dessert for the Harvest BBQ. Yum!


Canning plums is a bit more tricky. There are so many varieties of jams and syrups to choose from. I followed the plum canning directions and syrup recipe available through the National Center for Home Food Preservation. The plums were ripe and I did not want to waste time searching for recipes now.  I wanted a quick and easy way to preserve the deliciousness of the plums.

Canned plums!
In total, I canned 8 quarts and 2 pints of plums.  I used two types of syrup: Heavy and Light. I am very excited to see how each type of syrup interacts with the tart skin and sweet red flesh of the plum. For now I will dream about scoops of vanilla ice cream with a juicy tart plum and pancakes with plum syrup drizzles on top. Mmmmm!


The final result of the MVG 2012 Plum Harvest is:

4 quarts canned Heavy syrup
1 pints canned heavy syrup
4 quarts canned light syrup
1 pints canned light syrup
1 gallon and 3 quarts frozen

Wednesday, July 11, 2012

Mantodea nymph sightings!

We have new visitors to help protect the veggies from hungry predators. The Mantodeas have emerged!

Mantodeas egg sacs

The Mantodeas are mighty warriors.  Their first arrival coincided with last season's corn infestation. They are now back and ready to guard the victory garden. Their space sacs landed over two months ago.  The sacs laid dormant until the temperature held above 75 degrees. It is rumored that each sac can hold up to 500 eggs.  Wow!

Mantodeas on sage.
The Mantodeas nymphs emerged and are now feasting on the vicious leaf eating predators. There have been two sightings. The first sighting was at the corner of Herb Row on the sage plant.  The second sighting occurred while picking beans near the bitter melon plants.  These warriors can reach 3 inches tall.  However, the pictures showcase a nymph half-inch to an inch tall.

Let's zoom in.... hello nymph Mantodea.
I hope to see these beautiful creatures grow and thrive in the garden.  Not only do the Mantodeas look visually fascinating but they are excellent at devouring, the equally hungry, victory garden predators.

Sunday, July 8, 2012

Pyramid support for vertical gardening

Big news in the Morrison Victory Garden.  We have a new support structure and a few fruit sightings.

pyramid support for melon/zucchini
I finish creating the support for the Crenshaw melon and one of the zucchini plants. I tried my hardest to keep all of the zucchini and yellow squash plants vertical but one zucchini plant is very stubborn. I decided to let the zucchini plant grow horizontal and trail up and down the pyramid support with the melons.


I made the support using two wooden lattices and four wooden posts.  I nailed two posts to the shortest sides of one lattice.  The posts keep the lattice steady and help maintain the pyramid/upside down V shape.  I repeated the process with the two additional stakes and the remaining lattice.

whip-stitching the top seam
I leaned each lattice against each other to make a pyramid shape.  The unevenness of the top seam is not an issue.  Just use some string and whip-stitch the top seam together. I kept the string tight while sewing up the seam. The tight string keeps the support structure looking like an upside down V.  The last thing anyone would want is their vertical support to flatten out by the weight of the plants or fruit.  However, this may still happen especially if large heavy fruit  grow on the vines.  I may consider adding a few strong vertical stakes in the middle of the pyramid if we have an overabundance of zucchini or melons.

July 1, 2012 - Crenshaw melon
As for the melons, there are many flowers and small orbs of fuzzy fruit growing on the vines. The Crenshaw melons are doing the best and will be the first to produce mature fruit. The cantaloupe and watermelon plants are growing but have not reached the same size as the Crenshaw melon plant. Right now most of the Crenshaw melons are small and furry.  As the melons mature the fuzz will disappear into a hard rough skin.

Juliet tomato flowers & first tomato of the season (right)
The tomato plants have filled up the red cages.  I will be adding the second level to the cages within the week.  I noticed a few small green orbs hanging amongst the yellow flowers too.  To my surprise, the Juliet tomato plant is the first to push out green tomato.  I hope to see many more growing orbs in the tomato plants within the next few weeks.

corn has tassels and silk
The corn is doing the best it can do.  I used all of our remaining corn seed to plant this season's crop.  The seed was bought from Burpee in 2009.  The older the seed, the more likely the seed will not germinate or produced fruit/veggies.  I suspected this might happen this season since our corn seeds were a few years old.  I was correct in my assumptions.  I had to replant corn three times due to lack of germination.  I wanted to make sure the rows were full to help with corn pollination.  So far, a little more than half of the corn has produced ears.  However, many of the stalks are half as tall when compared to our 2011 corn field.

Monday, July 2, 2012

Pickling veggies... DILLicious!

dill is a great herb for canning
I love our bread and butter veggies from last season.  My mom and I snack on them throughout the day. I just take the jar from the pantry and place it into the fridge. A few hours later you have cold, crisp, and sweet zucchini and squash.  I have also eaten them as a side dish to a sandwich, a bowl of soup or a soy dog.  Either way canning veggies has brought lots of variety to my family's diet.

Zucchini is getting big...yikes!
We also make dill pickles and enjoy eating pickles by themselves or as a side dish to a meal.  Dill does not last long in my herb garden and often goes to seed by mid-summer.  I wanted to take advantage of the fresh dill while canning my first round of veggies.  I searched through my sacred text, Better Homes and Garden Cookbook, and found two recipes that produce canned vegetables with dill.

July 1, 2012 harvest
The first recipe explains how to make dill pickles.  I substituted cucumbers with the three vegetables I have on hand.  I like to keep my canning moving throughout the season and use only what the garden produces. Making dill veggies allowed me to use most of the dill from Herb Row and a variety of beans, zucchini and yellow squash from the garden beds.

Victory Garden 2011 - corn, cucumbers, and zucchini
The second recipe is titled Pickled Garden Vegetables.  The recipe asks for a large variety of veggies, such as carrots, onions, zucchini, squash, etc.  I only have beans, squash and zucchini and found this same combo worked great with the Bread and Butter Pickles recipe.  I used a variety of Burgundy, Blue Lake and Scarlet Emperor beans. The key to this recipe is to cook your dill with the liquid and add garlic.  This is very different from the dill pickles recipe, which does not include garlic. Additionally, when making dill pickles you place the dill in the jar with the cucumbers before adding the liquid. I welcomed the variety in cooking procedure and taste. I cannot wait to try my first batch of pickled garden vegetables... mmmm! I can still smell the dill and garlic boiling in vinegar, sugar and salt.

June 30, 2012  canned vegetables
In total, I canned three quarts of pickled garden vegetables and four quarts and 2 pints of dill vegetables. Yeah!

The first canning of the season has successfully added more food and variety to our pantry. My family has begun consuming the remaining jars of bread and butter, dill, and kosher pickles from 2009 and 2010. These yummy pickles will help fuel my efforts in trying new recipes while canning veggies and fruit this season.

Wednesday, June 27, 2012

Let there be FRUIT and VEGGIES!

Lots of flowers and fruits have showered the victory garden with fragrance, life, and growth.  Here is an update about the growth and the mouthwatering fruits.

lots of green in the victory garden

Fuyu is new to the victory garden but that does not mean she is not ready to produce.  This season we have two persimmons pushing out of Fuyu's newly grown branches.

Fuyu is caring for two persimmons!
The zucchini and the yellow squash are pushing out fruit faster than I can pick them.  I will definitely be making lots of pickled and bread & butter veggies this season.  Last season, I showed everyone how to blanch and freeze veggies.  But this year I want to consume less energy during the winter months. Freezers and refrigerators take up lots of energy even though they keep our food fresh and cold. Canning fruits and veggies are the best way to reduce the energy you use all year round.


The tomato plants are looking good and have reached three feet in height. I am experimenting with corn as a support structure for the tomatoes even though we have red cages for support.  I chose our one and only Big Mama tomato plant and started tying the large tomato stalks to the supporting row of corn.  I planted a single row of corn in the garden bed right behind and between the tomato plants. The corn is still close enough to the corn rows to pollinate with the large corn crop and produce ears of corn.  As our Big Mama plant grows I will continue to use green gardening tape to tie branches to the corn stalks for support. 

Corn is a great support structure for vertical gardening.  Corn not only helps reduce costs for buying support structures but also saves you time if you decide to make your own. As you can see below, the tomato plants have doubled in size and are expected to grow more in July and August.  Let's hope for a great harvest without the ATTACK OF THE KILLER JULIET TOMATOES.
June 10, 2012 - two Juliet tomato plants
June 10, 2012 - Big Mama is loving the sun
June 10, 2012 - three Early Girl tomato plants
June 26, 2012 - Big Mama (left) and Juliet in cage (right)
The eggplants are filling in nicely.  The top left plant is the oldest plant from last season. As you can see the plants grown from seed this season are quickly catching up. I hope to see flowers on all of the new eggplants within the next few weeks.

eggplants
The bell pepper plants are smaller than I hoped for but they are doing well. They were unaffected by the alien invasion a few weeks ago.  I am also hoping to see a few bell pepper flowers peak out in the next few weeks. Keep your fingers and roots crossed.

bell peppers surrounded by bitter melon (right) and beans (top)
The bitter melon plants are loving the weather and the vertical garden.  The plants have reached the top of the netting and are filling in nicely.  Flowers peaked through the vines and leaves two weeks ago and have now pushed out baby bitter melons.  Don't they look cute?


Even our cucumber like the garden beds and have begun the vertical climb up the netting.  I have spotted many baby cucumbers and found two that are two inches long.  Mmmm, I can already taste those crisp dill pickles. YUM!


The beans are pushing out more and more pods daily.  Our youngest crop of burgundy beans is starting to mature and should flower in the next few weeks.  The one and only garden bed, shown below, will be dubbed The Bean Box. There are over twenty burgundy bean plants in the garden bed and my family is hoping of a big harvest.  Unfortunately, large bean harvests will bring more bean robbers. The VG authorities will be notified of the increase in beans this year and will hopefully put out more patrols.  We caught the bean robber last year but I have a feeling that he will be back.

June 26, 2012 - Bean box is filling in
A typical June harvest for the victory garden is comprised of sugar snaps, blue lake beans, burgundy beans, scarlet emperor beans, zucchini and yellow squash. I am currently using Frisbees to hold items I pick in the garden.  I also use old pots/containers and strainers too.  Remember, I am only using reusable items this season.  I know I will be pulling out the large basket soon since the July harvest will be double or triple in size. So far my harvests have grown leaps and bounds.  In two weeks, the victory garden has shown me just how fast our harvests will increase in size.

harvested on June 13, 2012
June 27, 2012 harvest
Just imagine what a July and August harvest will look like.  Our June 27th harvest, pictured above, is my largest harvest so far.  The harvest includes 5 squash, 3 zucchinni (one medium two small), lots of sugar snaps, and a handful of each kind of bean (burgundy, blue lake and scarlet emperor).

Chewy Nhỏ (left) and Solo Nhỏ Xíu (right)
You might also notice a new face. Meet the newest inhabitant to the victory garden, Solo Nhỏ Xíu.  He is related to the notorious Chewy Nhỏ, bean robber.  Chewy was catch and sentenced to 18 minutes in the dog house for his bean theft in 2011.  The authorities will keep a close eye on Solo and his convict brother Chewy this season. The authorities have stated, "Chewy Nho is still a danger to the bean community and security will be tripled this season."  I hope for Solo's sake that he does not follow in his brother's footsteps and stays out of bean trouble. Here is a brief history of last season's bean theft:

Sunday, June 10, 2012

The sugar to my snap! The sugar snap.

Sugar snaps are easy to grow and even easier to eat.  I cannot help it but I eat them while I am picking them.  They are great in salads, soups and stir-fry.  You can plant the seeds in the ground or start them inside in a pot.  Either way, sugar snaps are easy to start, transplant and grow.  The plants like cold weather but do well in heat too.

June 7, 2012 harvest

Sugar snap are great climbers. This is why they are an excellent choice for vertical gardening. Sugar snaps can grow as high as 7 feet.  My stalks are currently at 5 feet and still reaching for the sky.

sugar snaps are now above the netting

Sugar snaps have curly tendrils that hold on to any form of netting. I use a nylon netting to hold up the sugar snap stalks.  The tendrils hold onto the nylon and help keep the stalks from falling over.  Sugar snap tendrils are very strong and skinny.  As you can see in the picture below, one sugar snap was squeezed by a tendril.  The strong gripping tendril left an indentation at the bottom of the pod.

sugar snap and tendrils

I also recommend choosing a netting that has large holes. The netting I am using has four inch holds. This allows me to reach through one side and collect the pods in the middle of the plant.  Lets look at the evolution of the sugar snap this season in the victory garden...

March 16, 2012 - sugar snap sprouts planted indoors

April 12, 2012 - sugar snaps (right bed) transplanted

April 27, 2012 - sugar snaps tendrils are attached and growing
May 12, 2012 - sugar snaps going vertical
May 21, 2012 - sugar snaps are climbing higher
June 10, 2012 - sugar snaps are a foot above the netting

Two weeks ago, I planted two more rows of sugar snaps in the main garden and a few seeds in Herb Row. In the main garden, I plant rows two to three inches away from the current row of plants.  The new sprouts will still climb upward and will now use the first row stalks and the nylon netting as support.

May 21, 2012 - flower (left) and pod pushing out (right)

I am using a triangular prism support for the sugar snaps in Herb Row.  My mother made this support out of bamboo sticks, three metal gardening sticks and metal wire.  She used it for many years to support her bitter melon plants. I continued to use the support primarily for bitter melon.  I have maintained the prism over the years using additional bamboo sticks and green gardening tape.  As you can see below, the bitter melon plants have taken up nicely in the garden bed and no longer need the prism support.

bitter melon have started to climb... go go go go go