I received a book from my father titled,
Vertical Gardening: Grow Up, Not Out, For More Vegetables and Flowers In Much Less Space by Derek Fell. My father had given me the book in the middle of a college semester. This meant, the book would sit on my bookshelf for a few months while I read and grade student papers. Once I had a break, I found time to read the book. I found the book easy to read. The entire book is organized for a beginner, like myself, who wants to jump from topic to topic while absorbing the information again and again. I have read the book over 3 times cover to cover and spent a few hours perusing particular chapters and pages.

Vertical gardening is growing your fruit up on netting or any other type of support structure. You could use a chain link fence to create a vertical garden. Can you imagine a fence accented with food for you to consume? Yum! Simply put, you grow up to save space. However, Fell would also add that vertical gardening produces more fruit. Either way, I wanted to try it out. I was tired of digging holes and moving vines when space was filling up. I wanted a vertical garden... so how do I start? According to Fell, there are two important starting points when planning a vertical garden:
- You will need a good location/soil for the plants.
- You need good support structure for the vertical garden (i.e., netting, trellis, boards, stakes, etc.)
Chapter two discusses the basics and introduced me to lasagna gardening. Lasagna gardening is an easy way to reuse items and turn hard weed infested ground into soft fertile soil. I used the lasagna technique when preparing the garden beds in the victory garden. I first laid down 10-15 layers of newspaper on the bottom of each garden bed. I hosed down the newspaper a few times while laying down the various layers of newspaper. Then I filled the bin with browns, greens, browns, greens, etc. Browns refers to dried leaves and chopped up corn stalks. Greens are lawn clippings and fresh kitchen scraps typically used for composting.
 |
| one layer of newspaper, wet, repeat 15X |
 |
| add a layer of browns |
 |
| add a layer of greens, repeat with brown |
I filled each garden bed 50% using the lasagna gardening method. I spread our homemade compost over the layers of "lasagna" and topped off the bed with a bag or two of gardening soil. I did not fill my garden beds to the top. I like the boards taller than the seedlings or transplants. The taller sides break the wind that could snap delicate bean transplants or seedlings.
 |
| double layer (back) and single layer (front) garden beds |
My effort to build garden beds with recycled materials while enforcing a no dig policy has come to an end. I was successful in building garden beds out of recycled materials. My family recently replaced the front yard fence. We saved the planks from the old fence and used them to construct the sides of the garden beds. The vertical boards are leftovers from old wood projects or broken furniture. Additionally, I filled each bed with organic materials found and produced around the house. However, my no dig policy was short lived when I ran-out of garden bed and lasagna bedding material. With the need to be green and not consume and purchase more material, I retreated to last season's soil preparation format. I forked and tilled the soil before the rains came. The soil was still moist and easy to manage. I laid the irrigation and planted corn. I have enough space in all of the beds built to plant my seedlings in the nursery. Yeah!
 |
| filled with lasagna layers and topped with homemade compost |
I have planted the corn (with irrigation). There are four rows with 20-25 seeds in each row. The sugar snaps, beets, pak choi, and radish variety are enjoying the cool wet weather.
 |
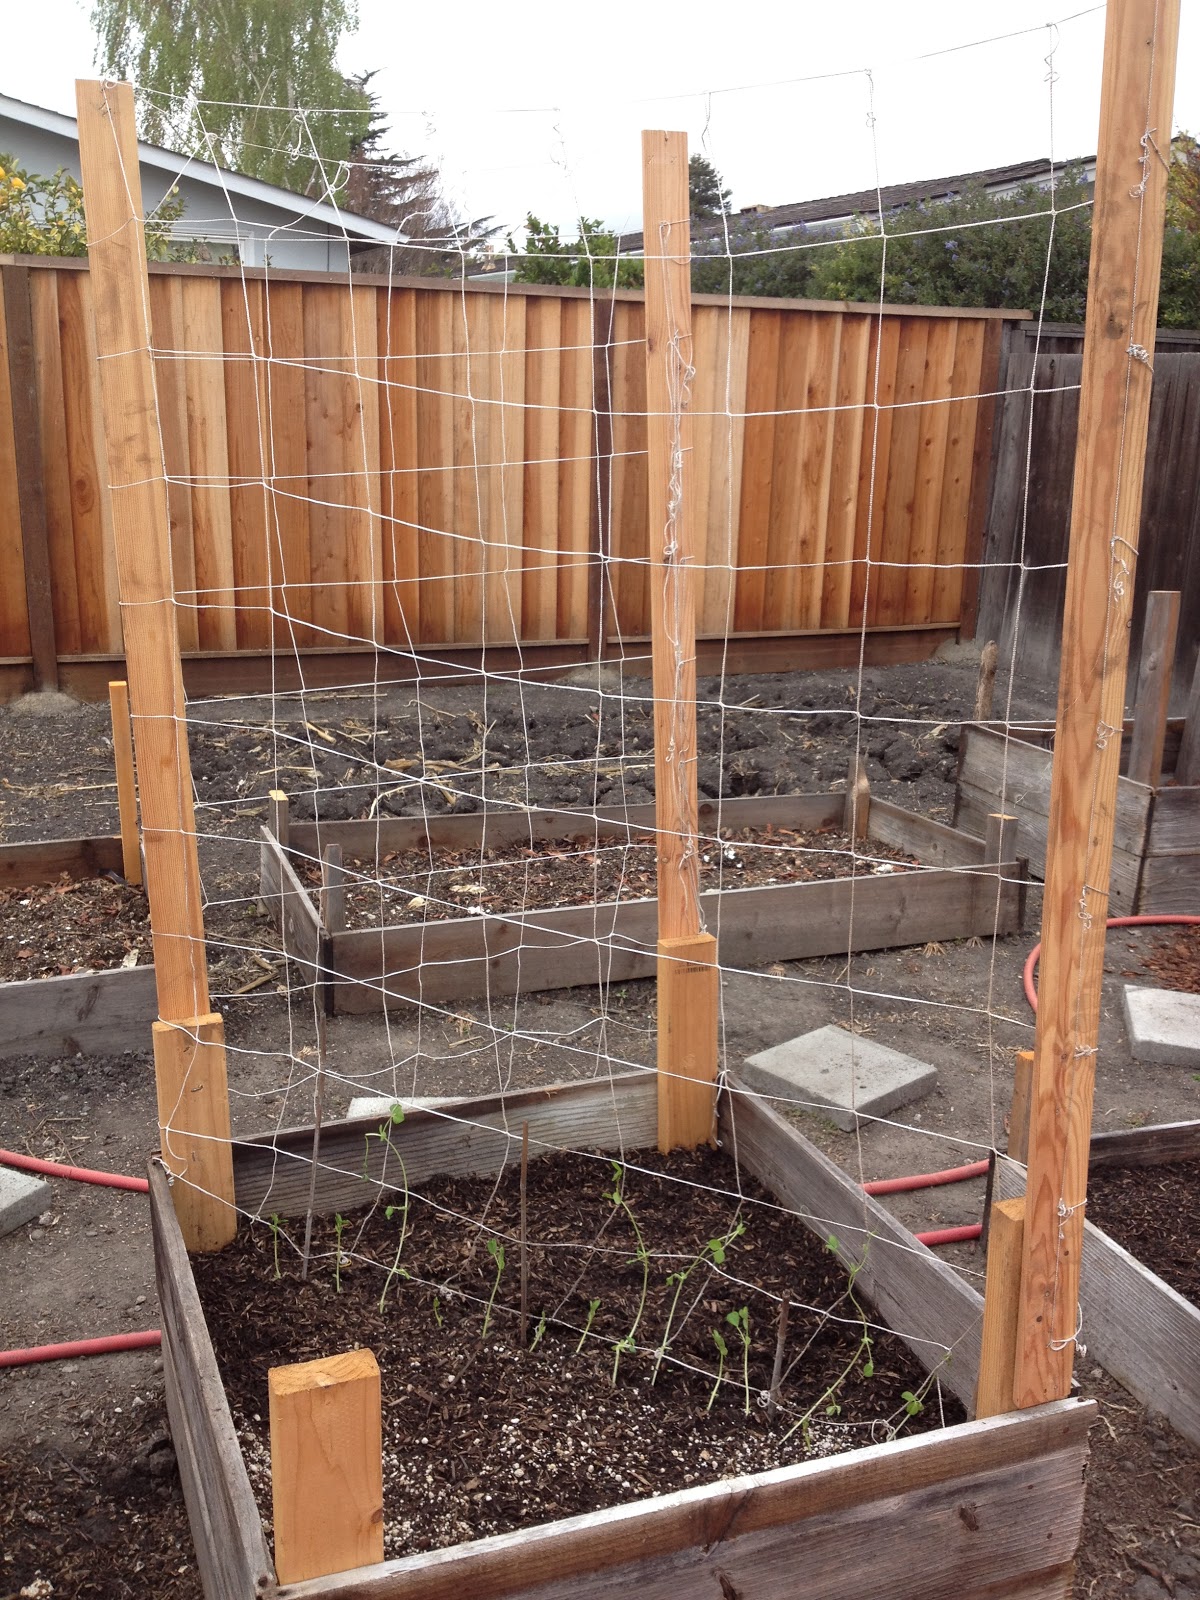
| netting for sugar snaps, blue lake, and royal burgundy beans |

VICTORY GARDEN ALERT! VICTORY GARDEN ALERT! The outdoor nursery has been tossed by the notorious
Chewy Nho. Chewy stated, "I was looking for a long lanky fella with a wormy looking face and accidentally tossed the seedlings." Authorities took pity on Chewy and sent him off with a warning. The seedlings have been replanted and given a drink to calm their roots.


 VICTORY GARDEN ALERT! VICTORY GARDEN ALERT! The outdoor nursery has been tossed by the notorious Chewy Nho. Chewy stated, "I was looking for a long lanky fella with a wormy looking face and accidentally tossed the seedlings." Authorities took pity on Chewy and sent him off with a warning. The seedlings have been replanted and given a drink to calm their roots.